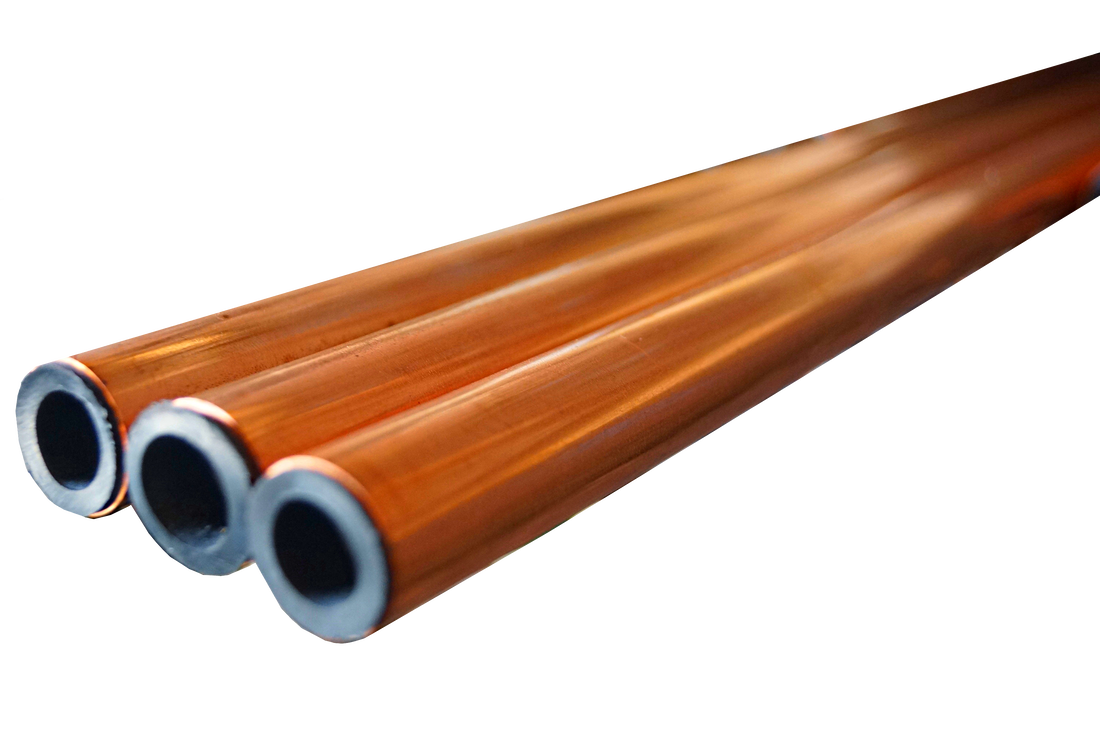


Copper water pipe installation process
The following copper pipe quick connectors, copper water pipes and copper water pipe manufacturers will talk about the installation of copper water pipes usually including the following processes:
1. Determine the installation location: First, determine the installation location and direction of the copper water pipe according to the design drawings, taking into account details such as the connection points and brackets of the pipes.
2. Prepare tools and materials: Prepare required tools, such as wrenches, pliers, cutting tools, copper water pipes, pipe fittings and sealing materials, etc.
3. Measure and cut: According to actual needs, measure and cut the copper water pipe to ensure that the length meets the regulations and the cut is smooth. If necessary, polish the pipe end.
4. Connect pipe fittings: As needed, process cutting, reducing diameter, elbow and other processes on the copper water pipe, and then install the pipe fittings, using welding, crimping or threaded connection to ensure a firm and sealed connection.
5. Fixing and supporting: Fix the copper water pipe on the wall or ceiling through fixing clips or brackets to ensure the stability of the pipe.
6. Perform a pressure test: After completing the pipeline installation, perform a water pressure test to check whether there are leaks at the pipeline connection points. After confirming safety, release water and exhaust.
7. Carry out anti-corrosion treatment: If necessary, anti-corrosion treatment should be carried out on copper water pipes to extend their service life.
8. Organizing and cleaning: Remove waste materials and debris generated during the construction process and keep the installation site tidy.